Google newly launched 7 inch smart Google Home Hub. It seems like Google did experiment with a tablet and its home mini and combined both to build a smart Google Home Hub. It has an ambient light sensor that can auto-adjust the brightness depending upon the light present in the room. The biggest drawback is that it lacks a camera.
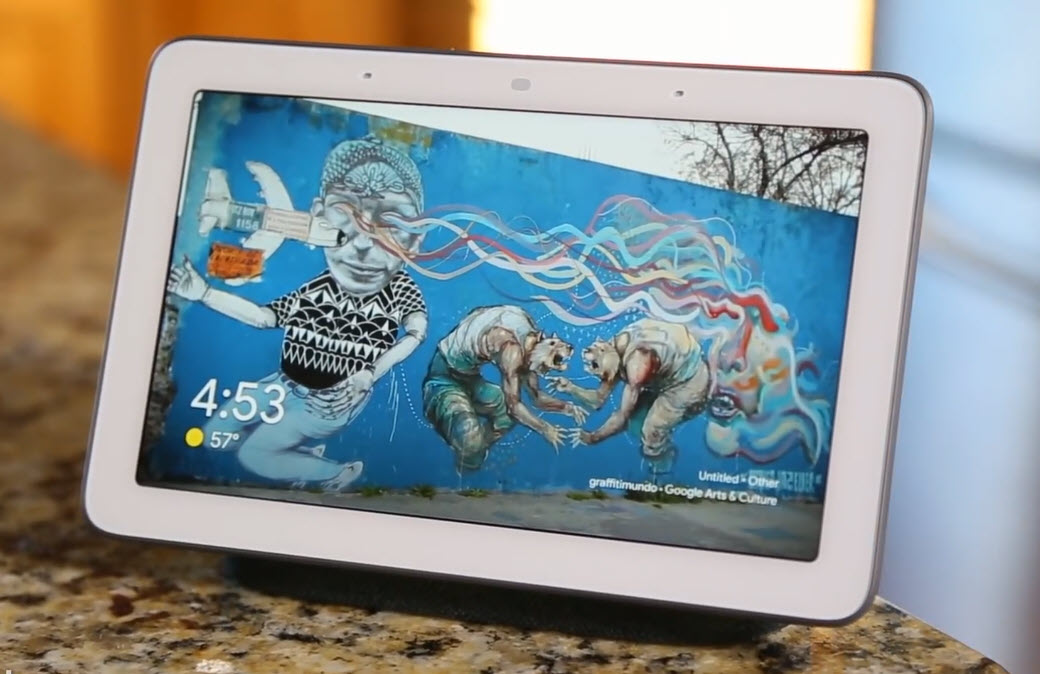
You can control the volume from its back, or can give the Voice command or use its Touch Screen. It has a good mike and sound quality of the speaker inside it is good but not that equally good if you compare google home mini. Overall, its a cheap affordable device with interactive touch screen and looks cool placed anywhere as a photo frame.
The Hub will also allow access to Google photos, allowing users to enable “Live Albums” to create slideshows by identifying people that the user wants to see regularly, such as friends or family members. Users can also simply access albums on the fly with voice commands like, “Hey Google, show me my photos of last birthday.” If one will add a pic in the live albums, it will automatically show that new pic. The HD display will also play videos from YouTube, and moreover it will come with free six months YouTube Premium subscription.
One can use it in the Kitchen or in the Drawing Room and it looks pretty beautiful anywhere as its small and looks like a tablet with a speaker and google assistant voice inside it.
It can handle a most of everyday productivity functions like issuing commands, making shopping lists, asking for a song to play and placing audio calls. Like other Google Assistant-supported devices, it uses a voice-matching function to identify separate users and deliver their calendar, commuting details, and reminders, which are displayed by the screen visuals.
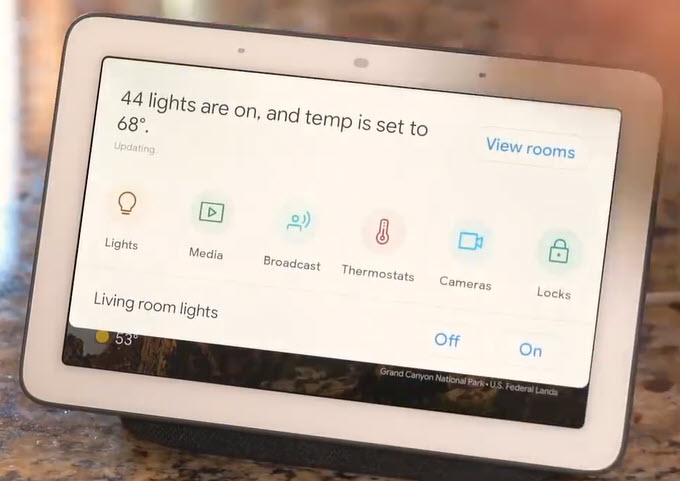
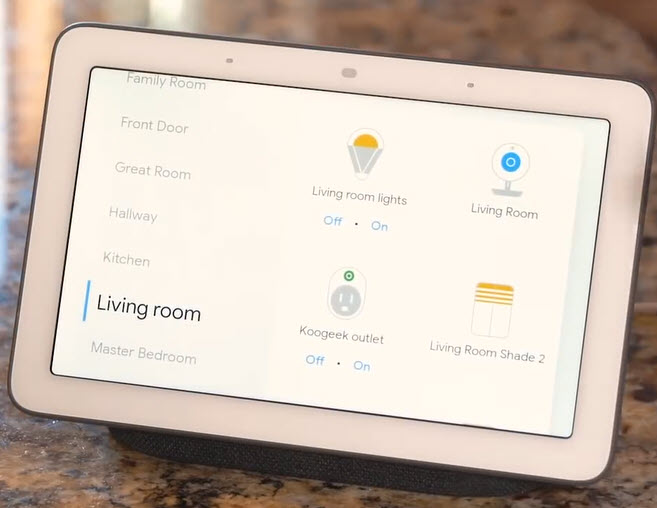
It has a smart home dashboard called “Home View” that Hub users can swipe down on the touchscreen to access every smart home gadget, such as lights, media, broadcast, thermostats, cameras, locks and speakers. Click View Room option to see all of your Smart Phone Devices out here room by room. Similar Home View is also available on the new Pixel 3 phone.
It does a great job of rendering the Assistant’s voice, and works perfectly well for watching YouTube videos and news broadcasts. But Comparing to the audio you get from Amazon’s first-generation Echo Show, it lacks the quality in audio.
Do you think Google Home Hub is a decent priced product from google and should be bought? I look forward to read your comments below.
Read more: Click Here
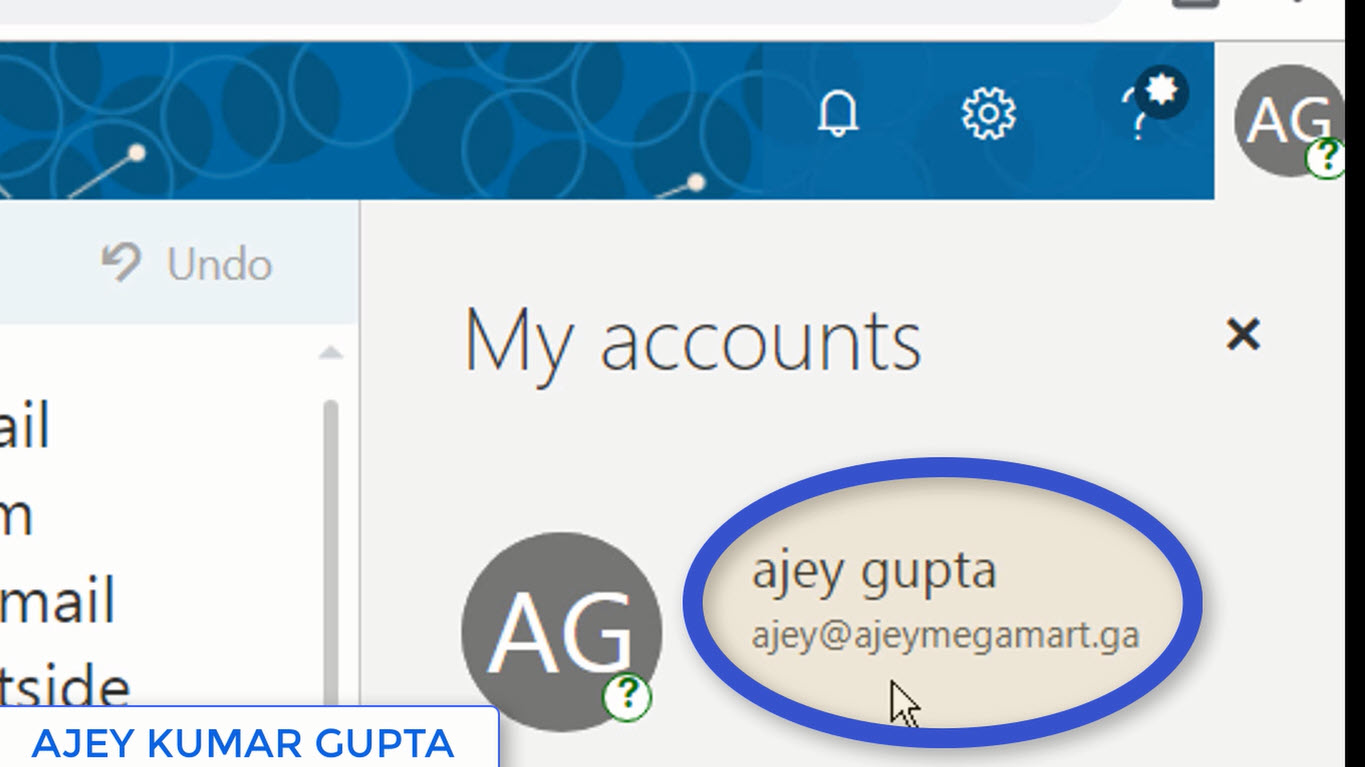
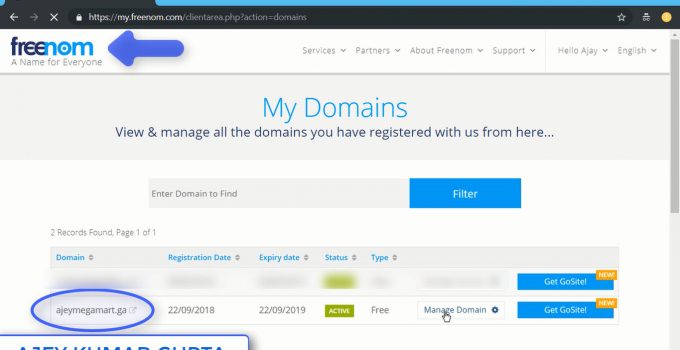
Ajey Kumar Gupta
(Microsoft Exchange Admin)
Next Blog: Publishers can embed Subscribe button inside their Youtube Videos
What it will look like?
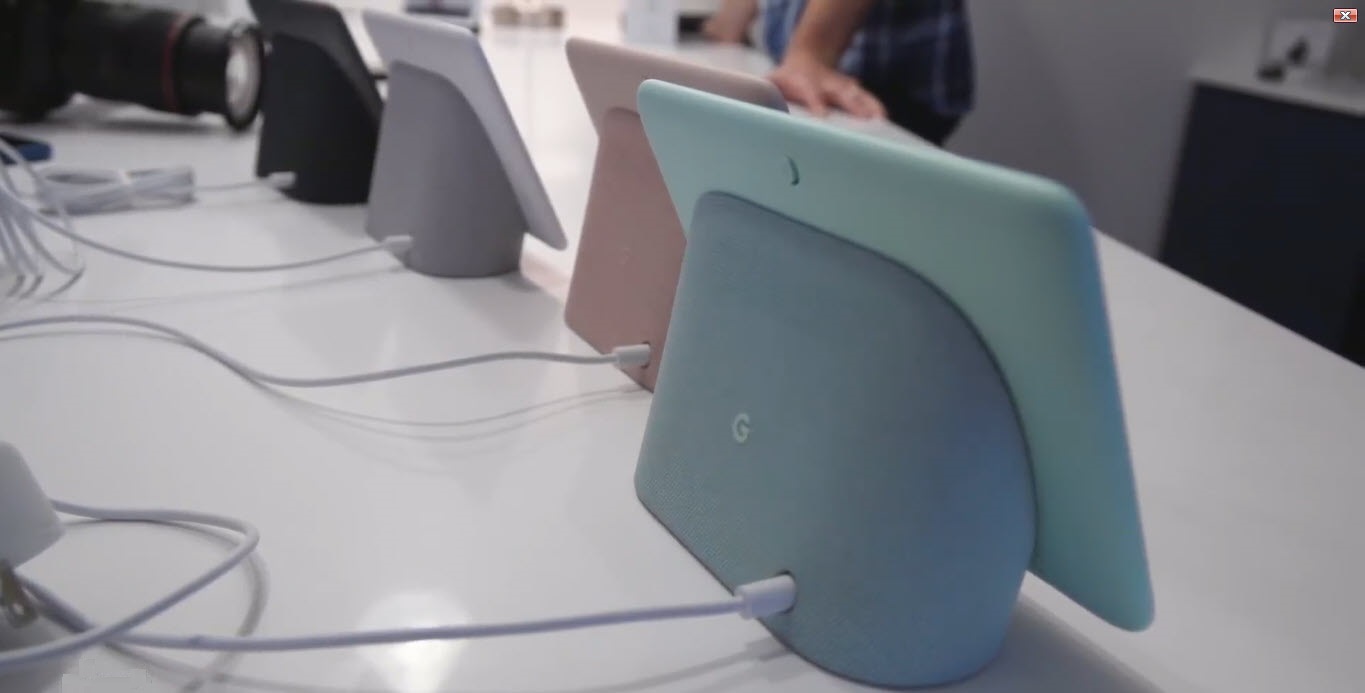
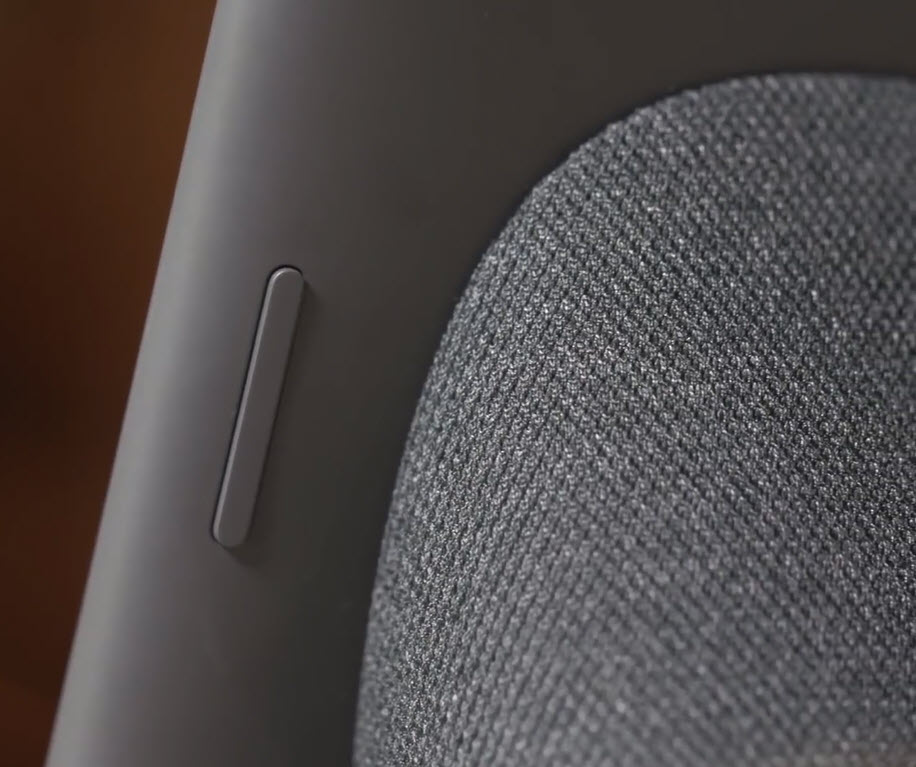
Google Home Hub is 7 inches by 4.5 inches tall, and a depth of 2.65 inches. It weights the same as Google Home. You get two two physical controls: A volume rocker and a privacy switch to turn off the microphone and stop the device from listening “OK, Google” voice commands. Google Home Hub will be available in four colors: chalk (white), charcoal (dark grey), aqua (light blue), and sand (pink).Features & Controls:
Google Home Hub comes handy for viewing pics, watching videos, and live Television with Youtube Tv. It shows more information if you ask about the weather, or for anything like Recipes to get the steps. It uses Google Assistant at the back-end which shows results with the help of touch screen.You can control the volume from its back, or can give the Voice command or use its Touch Screen. It has a good mike and sound quality of the speaker inside it is good but not that equally good if you compare google home mini. Overall, its a cheap affordable device with interactive touch screen and looks cool placed anywhere as a photo frame.
The Hub will also allow access to Google photos, allowing users to enable “Live Albums” to create slideshows by identifying people that the user wants to see regularly, such as friends or family members. Users can also simply access albums on the fly with voice commands like, “Hey Google, show me my photos of last birthday.” If one will add a pic in the live albums, it will automatically show that new pic. The HD display will also play videos from YouTube, and moreover it will come with free six months YouTube Premium subscription.
One can use it in the Kitchen or in the Drawing Room and it looks pretty beautiful anywhere as its small and looks like a tablet with a speaker and google assistant voice inside it.
It can handle a most of everyday productivity functions like issuing commands, making shopping lists, asking for a song to play and placing audio calls. Like other Google Assistant-supported devices, it uses a voice-matching function to identify separate users and deliver their calendar, commuting details, and reminders, which are displayed by the screen visuals.
It has a smart home dashboard called “Home View” that Hub users can swipe down on the touchscreen to access every smart home gadget, such as lights, media, broadcast, thermostats, cameras, locks and speakers. Click View Room option to see all of your Smart Phone Devices out here room by room. Similar Home View is also available on the new Pixel 3 phone.
Sound quality
If we look at listening to just music perspective, the Home Hub sounds somewhere in between the Google Home and the Home Mini. It can get pretty loud and clear, but lacks any real bass and sounds pretty unpleasant at 100% volume, and one can easily say its not a smart speaker to buy for rocking out.It does a great job of rendering the Assistant’s voice, and works perfectly well for watching YouTube videos and news broadcasts. But Comparing to the audio you get from Amazon’s first-generation Echo Show, it lacks the quality in audio.
Cons:
Unlike other smart displays, Google Home Hub lacks a camera, which may be either a good or bad, completely depending on how you feel about your privacy and the lack of ability to video chat. The only buttons on the outside of the Hub are volume up/down and mic on/off. The HD Screen sometimes seems too small to watch videos for an extended period of time. In the last, it doesn't have a 3.5 mm socket.Price:
Google Home Hub features Google Voice assistant and will be available for $150, with a slightly lower competitive price of Lenovo Smart Display, which starts at $199. Google Home Hub price in India is expected to be Rs. 11,000. Google Home Hub will start shipping from October 22, 2018.Comparison with Lenovo Smart Display:
When placed next to the Lenovo Smart Display, which is another Google Assistant smart speaker with a touchscreen, one can easily tell the difference clearly in size like comparing a tablet to a smartphone. It seems Home Hub’s small size makes it more versatile and is designed for primary use in the kitchen.Do you think Google Home Hub is a decent priced product from google and should be bought? I look forward to read your comments below.
Read more: Click Here
Ajey Kumar Gupta
(Microsoft Exchange Admin)
Next Blog: Publishers can embed Subscribe button inside their Youtube Videos